An unusual week and weekend awaited me, God, what’s wrong with this year?
Firstly, Poggo’s 4th birthday passed by without her Mamu, and secondly, I fought with my dear Sous Chef. Life was stuck big time and I know I had to fix the mess I created. What helped was my second family, rtCamp. So, with an early start to the weekend, I first went on a poetic spree & ended up venting out my emotions in the form of five poems. You can read them on my Instagram profile here.
Anyways, I ended up being myself soon, which meant re-entry of my Master Remy back in the frame. He was not in a good mood to talk and that’s understandable. I was ignoring him for almost the entire week. I knew it had to be something unique, something new or maybe going back to the roots to get back my master’s attention. As I scrolled through the recipes of Mutton Biryani on YouTube, I saw Remy’s eyes slowly glistening. I got my hint, it had to be Kolkata Style Mutton Biryani. Now I had tried my hand numerous times at Chicken Biryani, but this was my first attempt at Mutton Biryani and on obvious grounds I was nervous. What helped was my recent Eureka moment, when I found the My Kitchen’s Magic YouTube channel. I had tried a couple of recipes from this channel and I was already a fan, who was praising how good the channel was at every possible opportunity.
So let’s begin our journey to yet another attempt at getting the Kolkata Style Biryani right!!!
Marination

I prefer bigger chunks of mutton for biryani, especially the rann part. If you have raw papayas handy, you can grate it and then squeeze out the juice. You will need around 3 tbsps papaya juice so be mindful of the quantity you grate. This will be followed by 3 tbsps of curd. Coat all pieces with the marinade and put it in the refrigerator for at least 7 to 8 hours. Even better if you can keep it overnight.
Mutton Curry

I usually start by marinating peeled potatoes with turmeric, red chili powder and Biryani masala. Talking about Biryani masala, I prefer homemade. That’s exactly why you see that * in the ingredients list????
Biryani Masala – 1/2 tbsp black pepper, 1/2 tbsp white pepper, 1 tbsp cloves, 10 pods of green cardamom, 1 tbsp shahi jeera, 2 pods of black cardamom, 1 mace flower, two medium-sized cinnamon sticks, 1/2 of nutmeg pod, 1/2 tbsp kabab chini. Dry roast all dry spices in a pan for a minute. A few spins in a mixer grinder and you have the exotic biryani masala. The fragrance says it all. Talking about the beauty quotient and since this recipe requires a good amount of time, I tried a new cocktail to keep me refreshed during the coking process, using Blue Lagoon & Green Apple syrup and it turned out to be superb.


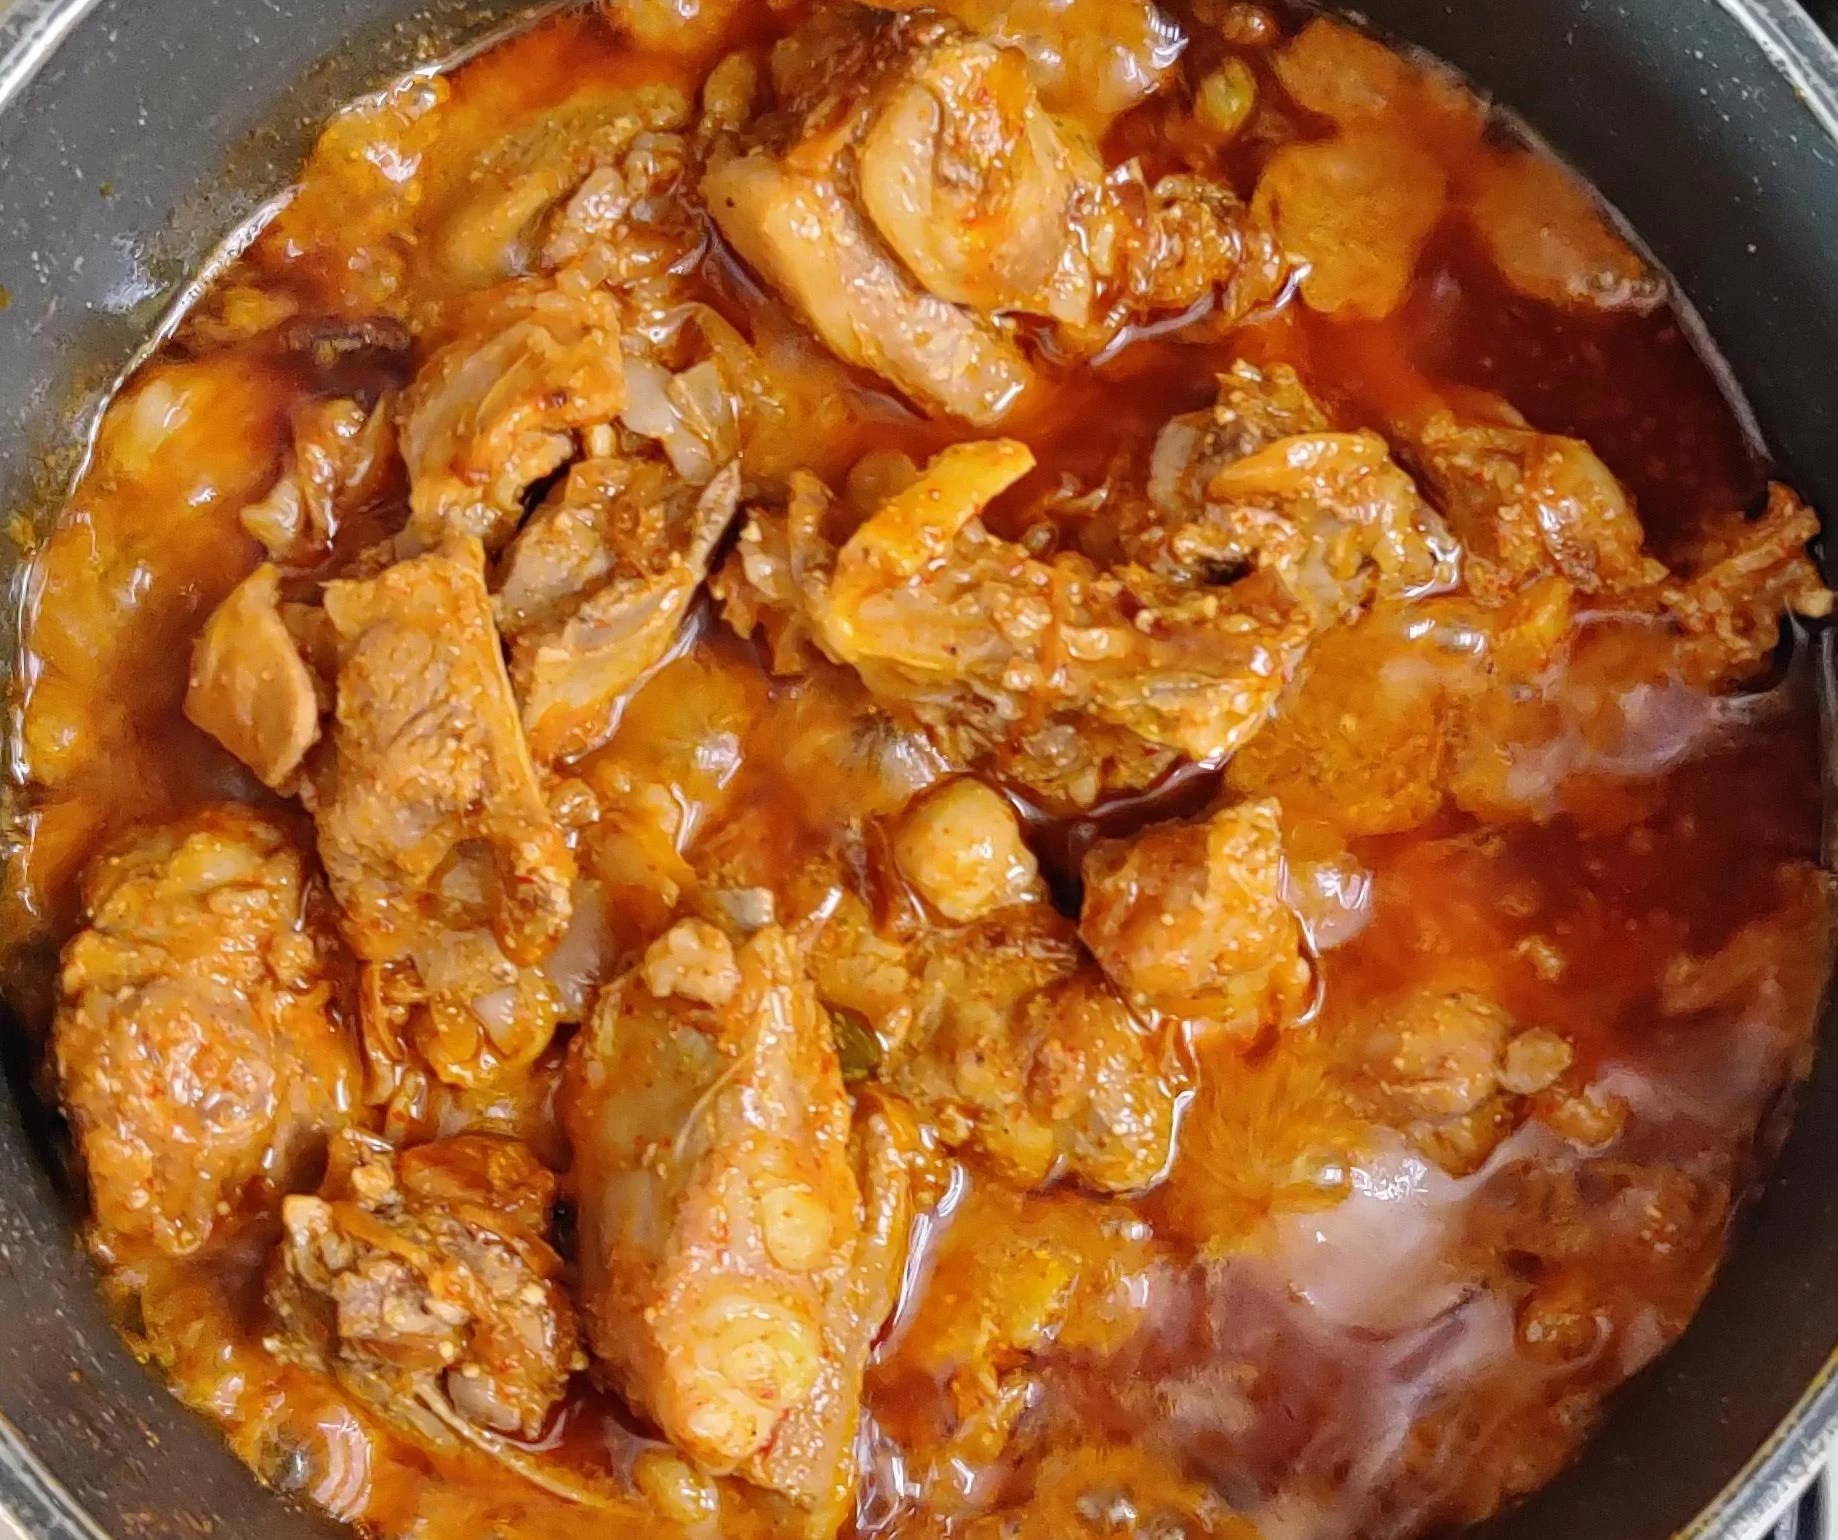
I came back to my sense as soon as I received a kick from Remy and I was back to getting my curry ready. So heat a cooking pot/kadhai, add ghee and oil & once you see the smoke, add the dry spices. Saute for a minute and enjoy the mesmerizing fragrance. Be careful with cloves as more than often they tend to burst. Add ginger-garlic and saute for another minute or so. Now comes the lead, marinated mutton pieces. Just add the mutton and save the marinade for another day. Just kidding, we gonna use it to its full capacity 😄
Shallow fry the mutton pieces for the next 6 to 8 minutes on high flame and follow-up with the remaining marinade. Next comes 3/4th of barista (fried onions) and cook it with the mutton for the next 3 to 4 minutes on medium flame. Next comes salt, swadanusar. Now we will add the powdered spices, first to come is the flaunting red chili powder. Cook for 2 to 3 minutes and then add the exotic biryani masala. Mix all ingredients in the pot well and cook for another 2 to 3 minutes. Next comes the remaining marinade mixed with 4 to 5 cups of warm water. I told you, I am gonna use it to its full capacity. Cover the lid and cook it on a medium flame for the next 25 to 30 minutes.

Reduce the flame and add 1.5 cups of warm milk. Cook without lid for next 4 to 5 minutes and then add 2 tbsp of ghee. Cover and let the mutton cook for about 95%. I kept it for another 20 minutes. Keep stirring in between to ensure that the mutton pieces do not stick to the bottom. Next add the fried potatoes which we had marinated earlier. This can be done ideally in the same pan you used for making the barista. Cook it for another 3 to 4 minutes. Time to make it aromatically flavorsome. Add rose water and kewra water & your mutton curry is ready. To give it a slightly richer consistency, add some grated Khoya on top of this.
Make sure that the capacity of Mutton is to rice is 2:1

Rice

We will begin with rinsing the rice at least 7 to 8 times. The reason being that most of the Basmati rice brands we use here in India have starch. Removing it helps to keep the rice fluffy after being cooked. Now, strain the rice and let it dry under the fan for 20 to 30 minutes.
Heat a pan/pot, add 2 to 3 tbsp of ghee and once the ghee is hot, add the dry spices. Next comes the rice. Saute the rice and spices for 2-3 minutes until the rice in nicely coated in ghee. In this meantime, you should have boiling water ready. Keep the quantity of water twice that of the rice. Once you add the water, add the lemon juice and cover the lid. It should take 5 to 6 minutes for the rice to be cooked 70 to 80% and that’s exactly when you need to strain out any additional water.
Biryani Layering

Take a big Biryani pot and grease the walls and the bottom well with ghee. Additionally layer with bay leaves. Add the mutton pieces first followed by the potatoes and then pour in the gravy. Make spaces for the gravy to reach the bottom of the pot. Add half of the 1/4th barista over the mutton pieces. Sprinkle the rice gently all over the mutton to cover it well. Next comes the remaining barista followed by the milk with saffron. Cover/Seal the lid of the pot using wheat dough or silver foil and place it on a flat iron pan. Let the Biryani simmer for 20 to 25 minutes on low flame. This is the meditative phase of the biryani. Do no disturb it. Let it breathe in its own aroma and juices to make it more flavorful.
When you open the pot, check if the curry has dried by using the back side of a wooden spatula. It is fine to put it on the flat pan for another 5 minutes or so if you find the curry to be more moist.


So finally I was able to complete a recipe and write a blog post on the very same day. Phew! It feels satisfying 🥰
Stay safe, cook at home tune in phoodiemonk for more recipes …
Congrats…. Superb recepie👌👌
Sounds exotic!! Surely gonna try 🙂